How-To Guide
How to Label Patch Panels and Network Infrastructure
Port numbering, strip printing, faceplate identification, and the labelling workflow that keeps your network documentation accurate after moves, adds, and changes.
A well-labelled patch panel saves time on every maintenance visit, every fault call, and every move-add-change request for the lifetime of the installation. A poorly labelled one, or one labelled once and never updated, creates confusion that compounds over years.
This guide covers the practical workflow for labelling patch panels, faceplates, and data outlets across a structured cabling installation. It applies whether you are building out a new data centre, upgrading a floor of office infrastructure, or bringing order to a comms room that has drifted from its original documentation.
1. Planning
Define your naming convention first
The single most common mistake in patch panel labelling is starting without a naming convention. Engineers label the first panel, then discover the format does not scale when they reach panel twelve in the next rack.
ANSI/TIA-606-D provides a widely adopted framework for structured cabling identification. Published in 2021, this latest revision expands the scope to cover commercial, industrial, residential, and data centre premises, and adds provisions for Automated Infrastructure Management (AIM) and Power over Ethernet administration. The standard defines a hierarchical labelling scheme that identifies the building, floor, room, rack, panel, and port in a single identifier string. Even if you do not follow TIA-606 to the letter, the principle of building a hierarchical identifier is sound practice.
Example: TIA-606 style identifier
- B1-02-CR1-R03-PP02-24 = Building 1, Floor 2, Comms Room 1, Rack 3, Patch Panel 2, Port 24
- The level of detail depends on your installation size. A single-room office might only need rack, panel, and port.
- Document the convention and share it with everyone who will touch the infrastructure.

The key decisions to make before printing anything: will patch panel labels show port numbers only, or include far-end references? Will you use sequential numbering or structured identifiers? Will you label both ends of every cable run? Answering these questions upfront prevents inconsistency across a multi-rack installation.
2. Patch panels
Printing and applying patch panel labels
Patch panels vary enormously in port spacing, label window size, and mounting arrangement. A 24-port copper panel from one manufacturer will have different dimensions to a 48-port panel from another. This is why generic label sheets rarely align perfectly with every panel you will encounter on a project.
The Prolab® Patch Panel Module addresses this by allowing you to measure your specific panel, set up a matching template in Labacus Innovator® software, and print labels that align precisely with your ports. The template can be saved and reused for every panel of the same type across the project.

-
1
Measure the panel
Record the port pitch (centre-to-centre spacing), the number of ports, and the available label area above or below the ports. Note whether the panel uses a label window or whether labels are applied directly to the faceplate.
-
2
Set up the template
In Labacus Innovator®, configure the strip width, port count, and text fields. For a 24-port panel, you will typically print a single continuous strip. For 48-port panels, two strips of 24 are usually more manageable to apply accurately.
-
3
Enter the port data
Type port identifiers manually, use number sequences for simple sequential numbering, or import from a spreadsheet if the data already exists in your design documentation. The Professional level of Labacus Innovator® supports full spreadsheet import for large installations.
-
4
Print and apply
Print on Prolab® Laser Patch Panel Labels using a standard office laser printer. The polyester label stock is designed for the comms room environment: durable, smudge-resistant, and dimensionally stable. Align the strip carefully to the first port before pressing down, then smooth across to avoid misalignment.
Save the template for future use. When a panel is replaced or ports are re-patched, reprinting a single strip takes minutes rather than requiring a new order of pre-printed labels.
3. Faceplates
Labelling faceplates and data outlets
The faceplate is where the end user connects. A clear label here reduces helpdesk calls and makes it simple for anyone, not just network engineers, to identify the right outlet for a device.
Faceplate labels should include the outlet identifier (matching the documentation and the corresponding patch panel port) and optionally the service type if multiple services share the same faceplate. Keep the text readable from standing height: font size matters when the outlet is at skirting level or behind a desk.
For multi-service faceplates carrying voice, data, and AV connections, colour coding or a simple text prefix (D for data, V for voice, AV for audio-visual) alongside the outlet number prevents mispatching at the user end.
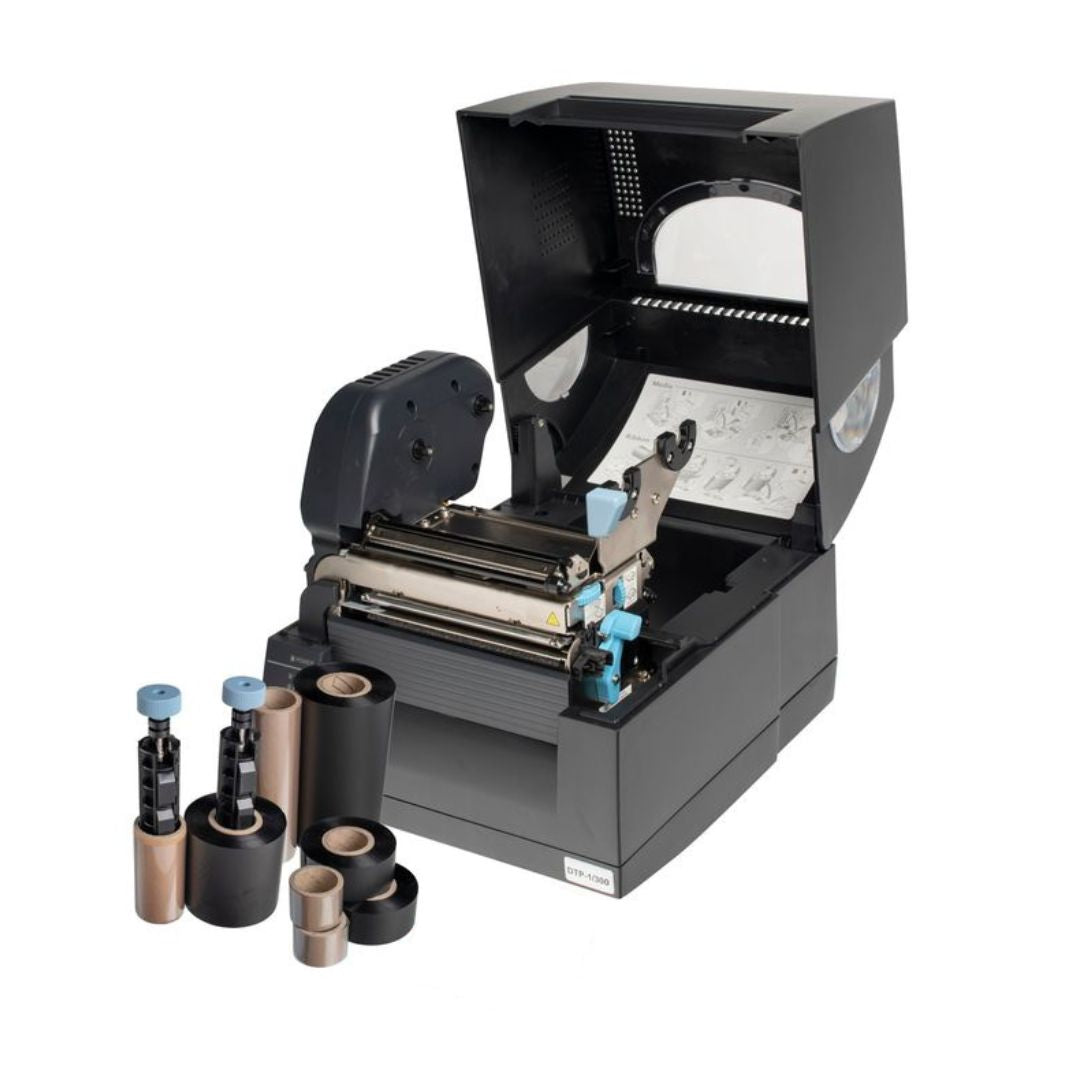
The same Fox-in-a-Box® thermal transfer system used for cable labels can also produce small equipment labels for faceplates. Printing these in-house means replacements are available on demand when outlets are added or services change, rather than waiting for a new order.
4. Beyond the panel
Racking labels, termination blocks, and cable trays
Patch panels are the most visible labelling point, but a complete network labelling scheme extends further. Racking labels identify each rack within a row and room. Termination blocks on the horizontal side need port identification that matches back to the patch panel and through to the faceplate.
For termination blocks and small plastic surfaces, label adhesion depends heavily on surface preparation. Clean the surface before application and allow any cleaning solvent to fully evaporate before pressing the label down. Prolab® High Performance Tape uses an acrylic adhesive that bonds well to the smooth plastic housings typical of termination blocks and cable management.
Cable tray labels at key junctions and transitions help maintenance teams trace routes without pulling individual cables. A simple directional label at each tray intersection, showing which cables are routed in which direction, is one of the most effective additions you can make to an unlabelled legacy installation.
When you are working with colour-coded systems, your labels should reference the colour coding scheme in the documentation so that anyone reading the label understands how it maps to the physical cabling.
5. Ongoing
Keeping labels accurate after changes
The hardest part of network labelling is not the initial installation. It is maintaining accuracy through years of moves, adds, and changes. A single re-patch that is not reflected in the labels creates a discrepancy that compounds every time someone trusts the old label.
The most effective approach is to make relabelling part of the change management process. Every MAC (move, add, change) ticket should include a labelling step. If your team carries a Fox-in-a-Box® printer, replacement labels can be produced on site during the change rather than flagged for a future visit that may never happen.
For removing old strip labels cleanly, a slow peel at a low angle minimises residue. If adhesive residue remains, isopropyl alcohol on a lint-free cloth will clean most surfaces without damaging the panel. Avoid metal scrapers on painted or powder-coated panels.
FAQ
Patch panel labelling questions
Should I use strip labels or individual port labels?
Strip labels are faster to apply and maintain consistent alignment across all ports. Individual labels give more flexibility if ports are added incrementally. For most structured cabling projects, strip labels are the standard approach because they are quicker to produce and less prone to misalignment.
Do I label ports 1-24 or use structured identifiers?
Simple sequential numbering works for small installations with one or two racks. For anything larger, structured identifiers that include rack and panel references make troubleshooting significantly faster because the label itself tells you where to look.
Should patch panel labels include the far-end reference?
Including the far-end outlet or device reference on the patch panel label speeds up troubleshooting because you can identify both ends of a cable run without consulting documentation. The trade-off is that labels become longer and may not fit the available space on dense panels. A good compromise is to include the room and outlet number but not the full hierarchical path.
How do I print labels for a 24-port or 48-port patch panel template?
Measure the port pitch on your specific panel, create a matching template in Labacus Innovator® software, enter the port data, and print on Prolab® Laser Patch Panel Labels using a standard office laser printer. The template saves for reuse across identical panels. For a detailed walkthrough, see the Prolab® Patch Panel Module product page.
How do I label a fibre patch panel?
Fibre patch panels follow the same principles as copper panels: define your naming convention, measure the port spacing, and print strip labels to match. For individual fibre patch cords, Prolab® Laser Fibre Optic Flag Labels are designed specifically for the small diameter of optical fibres, with a flag format that provides a readable label area without adding bulk.
How do I ensure outlet labels withstand cleaning and sunlight?
Faceplates in public areas may be exposed to cleaning chemicals and, if near windows, UV light. Polyester label stock with thermal transfer print provides good resistance to both. For outlets that receive heavy cleaning, such as in healthcare or laboratory environments, specify labels independently tested for chemical resistance.
Next steps
Label your next installation right
Ready to standardise your patch panel labelling?
Silver Fox® provides the Prolab® Patch Panel Module, the Fox-in-a-Box® printer, and the Labacus Innovator® software to cover every labelling point in a network infrastructure project, from patch panel strips to cable wraps to faceplate labels.
Contact us at sales@silverfox.co.uk or call +44 (0) 1707 37 37 27.

References
TIA (2021) ANSI/TIA-606-D: Administration Standard for Telecommunications Infrastructure. Telecommunications Industry Association.