Cable Labelling Guide
How to Label a Terminated Wire: A Step-by-Step Guide
Proper cable labelling after termination is essential for safety, compliance, and efficient maintenance. This guide covers the best methods, label types, and application techniques for labelling terminated wires in any industrial environment.
Labelling terminated wires is one of the most important steps in any electrical, data, or telecommunications installation. Once cables have been connected to their endpoints, clear identification ensures that technicians can troubleshoot issues quickly, maintain systems efficiently, and comply with industry standards such as ANSI/TIA-606 for telecommunications infrastructure.
The challenge with labelling terminated wires is that traditional methods, such as heat shrink sleeves, cannot be applied after termination without disconnecting the cable. This guide focuses on cable labelling solutions specifically designed for post-termination applications, helping you choose the right approach for your project.
1. Why it matters
Why Label Terminated Wires?
Cable labelling is not simply about organisation - it is a safety and operational necessity. In data centres, manufacturing facilities, and infrastructure projects, clear wire identification can prevent costly mistakes, reduce downtime during maintenance, and ensure compliance with regulations.
Safety
Proper cable identification prevents accidental disconnection of critical circuits and reduces the risk of electrical incidents during maintenance work.
Compliance
Standards like ANSI/TIA-606 require permanent, legible labels at both ends of cables. Meeting these requirements is essential for project sign-off.
Efficiency
Well-labelled systems dramatically reduce troubleshooting time. Engineers can identify circuits in seconds rather than tracing cables manually.
Documentation
Labels create a physical record that matches your system documentation, making audits and handovers straightforward.
For more on selecting the right labels for your project, see our guide on how to choose cable and wire labels for UK engineering projects.
2. Label selection
Choosing the Right Cable Labels for Terminated Wires
Selecting the appropriate label type depends on your environment, the cable diameter, and any regulatory requirements. Here are the main options for labelling cables after termination:
Wrap-Around Cable Labels
Prolab® Wrap-Around Cable Labels are ideal for terminated wires. These self-laminating labels wrap around the cable, with a transparent protective layer that covers the printed text. This design makes them highly resistant to dirt, oil, and moisture, ensuring long-term readability. The wrap-around format means they can be applied after termination without any disconnection.
Tie-On Cable Labels
Tie-on labels attach to cables using cable ties, making them perfect for post-termination applications. Several options are available depending on your requirements:
- Fox® PVC Tie-On Cable Labels: Durable PVC labels suitable for general commercial applications. Available in multiple colours and sizes, these are rapidly printed using the Fox-in-a-Box® thermal printer.
- Fox-Flo® UV Stable LSZH Tie-On Cable Labels: Crafted from premium Low Smoke Zero Halogen material, these labels are designed for harsh environments including rail and marine industries. They carry London Underground approval.
- Legend™ Laser Tie-On Cable Labels: Polyester labels that can be printed on any standard office laser printer. Ideal for environments requiring London Underground approval.
Two-Part System Cable Markers
Legend™ Thermal 2-Part System Cable Markers offer unique flexibility. The clear plastic tubing has two recesses: one for the label and one for the wire. You can slide the blank tubing onto the cable before termination, then add or change the printed identification at any time afterwards. This system is particularly useful when cable schedules may change during a project.
Label Selection Checklist
- LSZH required? Choose Fox-Flo® or Legend™ LSZH options
- Outdoor/UV exposure? Select UV-stable materials
- Need to change labels later? Consider 2-Part System
- General commercial use? Fox® PVC offers excellent value
3. Application process
Step-by-Step Guide to Labelling Terminated Wires
Follow these steps to ensure your cable labels are applied correctly and will remain legible throughout the installation's lifespan.
-
1
Prepare the Wire
Before applying any label, ensure the wire is clean and free from oil, dust, or debris. For wrap-around labels especially, a clean surface ensures proper adhesion and prevents labels from peeling over time.
-
2
Design and Print Your Labels
Use the Labacus Innovator® software to design your labels. The software allows you to import data from spreadsheets, add barcodes or QR codes, and ensure consistent formatting across your project. Print using either the Fox-in-a-Box® thermal printer or a standard office laser printer, depending on your label type.
-
3
Apply the Label
The application method varies by label type. For wrap-around labels, wrap around the cable ensuring the clear tail secures over the printed area. For tie-on labels, attach using cable ties and position where technicians can easily read them. For 2-Part Systems, slide the printed label through the tubing.
-
4
Position Correctly
Place labels close to the termination point where they will be visible during maintenance. Avoid positioning labels where they may be obscured by cable bundles or equipment. Remember to label both ends of every cable.
-
5
Test Label Durability
After application, test labels to ensure they remain secure and legible. This can include a gentle tug test, exposure to environmental factors present in your installation, and checking readability under typical lighting conditions.
4. Printing
Cable Label Printer Options
The quality of your printed labels directly affects their durability and readability. Silver Fox® offers two main approaches to printing cable labels.
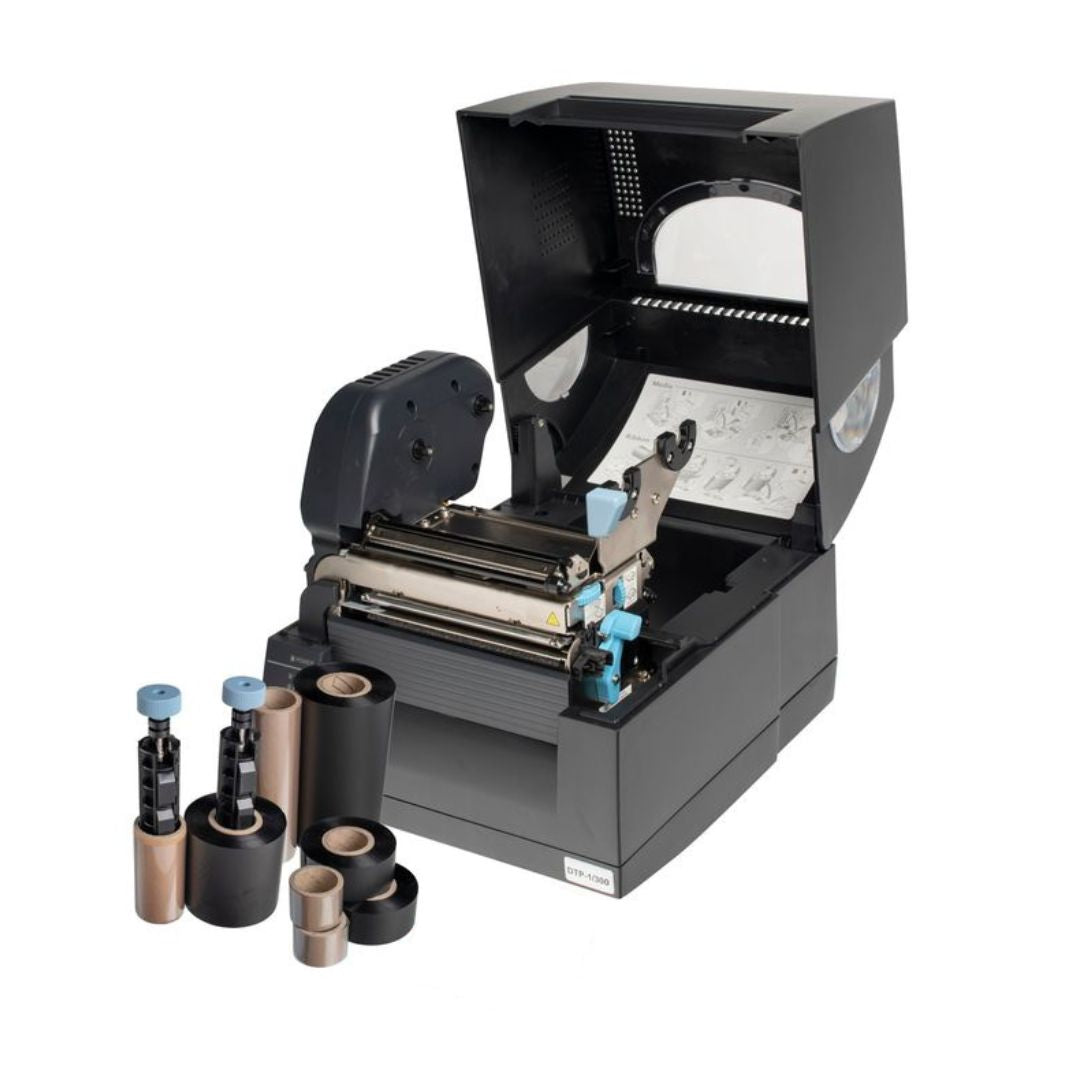
Thermal Printing with Fox-in-a-Box®
The Fox-in-a-Box® thermal printer delivers high-resolution prints with fast print speeds. This system uses one software, one printer, and one ribbon to print over 160 label variations, from tie-on cable labels to wrap-around labels to asset tags. The Labacus Innovator® software included with Fox-in-a-Box® makes designing and printing custom labels straightforward.
300 DPI
High-resolution output ensures text and barcodes remain crisp and scannable.
200+ Variations
Print multiple label types from a single system without changing equipment.
Free Support
Lifetime technical support and software updates included at no extra cost.
Laser Printing
For Legend™ Laser labels, you can use any standard office laser printer. This approach works well for organisations that need to produce labels occasionally or across multiple sites without investing in dedicated equipment. The Labacus Innovator® software is also available for laser printing applications.
Learn more about the evolution of printing technology in our article on the history of thermal printing.
5. Best practices
Cable Labelling Best Practices
Following established best practices ensures your cable labelling system delivers long-term value. These recommendations apply regardless of which label type you choose.
- Consistency is key: Use consistent naming conventions and label formats throughout your installation. This makes future maintenance easier and reduces the risk of errors.
- Label both ends: Always label both ends of every wire. This prevents confusion when tracing cables and is required by standards such as ANSI/TIA-606.
- Document your system: Record your labelling format and the location of labelled wires for future reference. This documentation should be accessible to anyone who may need to maintain the system.
- Consider future access: Position labels where they will remain visible even as the installation develops. Avoid areas that may become obstructed by additional equipment or cable runs.
- Match labels to environment: Select materials appropriate for the conditions your labels will face. LSZH labels for enclosed spaces, UV-stable labels for outdoor applications, and chemical-resistant options for industrial settings.
Pro Tip: Import from Spreadsheets
- The Labacus Innovator® software can import cable schedules directly from Excel
- This eliminates manual data entry and reduces transcription errors
- Changes to your cable schedule automatically update your label designs
For more detailed guidance on cable management, see our article on cable label best practices for professionals.
6. FAQ
Frequently Asked Questions
How to label cables after termination?
For cables that have already been terminated, use wrap-around labels or tie-on cable labels. Wrap-around labels such as Prolab® self-laminating labels adhere directly to the cable jacket. Tie-on labels like Fox-Flo® or Fox® attach using cable ties without any need to disconnect the cable. Both methods provide durable identification without requiring access to the cable ends.
How to label cables DIY?
For DIY cable labelling, start with a thermal or laser printer and appropriate label stock. The Labacus Innovator® software provides templates and design tools that make creating professional labels straightforward, even for small projects. Import your cable list from a spreadsheet or enter identifications manually, then print and apply following the manufacturer's instructions for your chosen label type.
How to label ethernet cables?
Ethernet cables in data centres and network installations benefit from wrap-around labels that provide clear identification without adding bulk. Position labels near patch panels and switch ports where technicians need to identify connections quickly. For detailed guidance, see our comprehensive guide on how to label ethernet cables and data centres.
How to label network cables?
Network cable labelling should follow a consistent naming convention that identifies the source, destination, and any relevant circuit information. Use labels that can accommodate small text while remaining legible, and always label both ends of each cable. Standards like ANSI/TIA-606 provide frameworks for developing effective labelling schemes.
What are LSZH cable labels?
LSZH (Low Smoke Zero Halogen) labels are made from materials that emit minimal smoke and no halogen gases when exposed to fire. These labels are required in enclosed spaces such as rail carriages, underground stations, and public buildings where toxic fumes could endanger occupants. Fox-Flo® labels meet these requirements and carry London Underground approval.
Next steps
Ready to Improve Your Cable Labelling?
Get Expert Advice on Your Labelling Requirements
Whether you need labels for a small installation or a major infrastructure project, our team can help you select the right products and approach. We offer lifetime free support and training with every Fox-in-a-Box® system.
Contact our expert team at sales@silverfox.co.uk or call +44 (0) 1707 37 37 27.