
Material Comparison
Self-Laminating Labels Explained: How They Work and Where to Use Them
A clear explainer of what self-laminating labels are, how the construction protects printed text, and how to decide when this label type is the right choice for a cable or equipment identification job.
Introduction
A label that protects itself
Walk into any data centre, network room, or industrial control cabinet and you will see cable identification in every direction: patch cords labelled at both ends, bundles tagged where they enter racks, power feeds marked at the distribution board. Many of those labels will be self-laminating labels, even if the engineer who applied them did not use that name.
The term describes a construction rather than a brand. A self-laminating label has two parts working together: a printable area where the cable identification is printed, and a clear tail that wraps over the printed area after application. The clear tail acts as its own overlaminate, sealing the printed text against abrasion, moisture, and solvents - no separate laminating machine, no pouch, no extra step.
This post explains how that construction works, where self-laminating labels perform well, where they do not, and how to choose a format, size, and print method that will still be legible years into the installation.
1. How they work
The construction behind self-laminating labels
A self-laminating label is made up of two zones on a single piece of label stock:
- A white, printable panel. This is the opaque section where the cable identification, circuit number, port reference, or any other text is printed. In most products the panel is a matt white polyester film designed for either thermal transfer or laser printing.
- A clear, self-adhesive tail. Extending from the printable panel is a transparent section of film with adhesive on its underside. When the label is wrapped around a cable, the clear tail passes over the printed panel and sticks to itself, creating a sealed, laminated window through which the printed text remains visible.
The construction is sometimes described as "wrap-around self-laminating" or simply "self-laminating wrap-around". The clear tail is the self-laminating element; the wrap-around shape is how it is applied to a cylindrical cable.
Why the clear tail matters
Printed text on an exposed label surface is vulnerable. Fingerprints, cleaning sprays, cable pulling, dust, UV light, and general handling all take a toll. A bare label can look perfect the day it is installed and be illegible a year later. The clear overlaminate puts a physical barrier between the printed ink and the outside world, shielding it from abrasion, moisture, and many chemicals, and reducing the risk of smudging during routine cleaning.
A note on terminology
"Self-laminating" and "laminated" are not interchangeable. A laminated label has a clear protective layer bonded to the print during manufacture. A self-laminating label contains that clear layer as part of its own design, and the user creates the lamination by wrapping the label correctly.
2. Where they win
The applications self-laminating labels are built for
Not every cable needs a self-laminating label. The construction suits cables that are smooth, relatively flexible, and likely to be handled during their service life - a description that covers much of the identification work in modern buildings.
Data and network cables
Cat 5e, Cat 6, Cat 6A, and fibre patch cords all respond well to self-laminating labels. The smooth jacket gives a clean surface for the adhesive, and patch cords in particular get moved, unplugged, and reconnected regularly.
Control and instrumentation cables
Control wiring inside panels and cabinets is touched every time a modification or fault investigation takes place. The overlaminate protects the legend through years of re-work and commissioning activity.
Data centre structured cabling
TIA-606-D labelling schemes depend on labels that remain legible for the life of the installed cable. Self-laminating wrap-arounds applied to both ends of each patch cord are a standard approach.
Marine data cabling
Prolab® Self-Laminating Wrap-Around labels have been tested for salt mist spray under the Lloyds Register Type Approval System, making them suitable for data cabling in sheltered marine environments. For open-deck or exposed-hull cabling, a tie-on label such as Fox-Flo® is better suited.
Self-laminating labels are less appropriate on very large cables, very thin cables, or cables exposed to sustained mechanical abrasion. A fibre patch cord may be too slim for a standard self-laminating format to wrap cleanly; a large power cable is usually better served by a tie-on cable tag; and cables pulled through ducts or constantly scraped against ironwork often survive longer with a heat-shrink sleeve.
3. Self-laminating vs alternatives
How self-laminating labels compare to other cable identification
Choosing a cable identification method usually comes down to four options: self-laminating wrap-around, plain wrap-around, heat-shrink, and tie-on tag. Each has a place; the choice depends on cable diameter, installation sequence, environment, and how often the cable will be handled.
| Label type | Print protection | Best cable range | Apply before or after termination | Typical use |
|---|---|---|---|---|
| Self-laminating wrap-around | Clear overlaminate seals print | Up to around 20mm | Either | Data, network, control cables |
| Plain wrap-around | Exposed print surface | Similar to self-laminating | Either | Indoor, low-handling applications |
| Heat-shrink sleeve | Print is on the outside of the shrunk sleeve | Matched to sleeve size | Before termination only | Core wires, harsh environments |
| Tie-on cable tag | Exposed print, but can be replaced | Any diameter | Either | Large cables, bundles, outdoor |
The key point from this comparison is that self-laminating labels sit in a specific niche: smooth cables up to around 20mm diameter, where the legend needs to survive handling but the installer cannot always thread a sleeve on before termination. That description covers the bulk of data and control cabling in offices, data halls, rolling stock, vessels, and factory floors, which is why the format has become so widely used.
When not to use self-laminating
A few situations call for a different label type. If a cable will be permanently exposed to direct sunlight at a high UV dose, a tie-on label made from a UV-stable, LSZH material such as Fox-Flo® is a stronger choice. If the cable will be terminated in a high-vibration environment at core level, a printed heat-shrink sleeve like Legend™ may outlast a self-adhesive wrap-around. If the cable is very thick and stiff, a rigid tie-on tag is easier to read and does not rely on a smooth jacket surface.
4. Sizing
Matching the label to the cable diameter
A self-laminating label only works as a laminated label if the clear tail can fully wrap around the cable and overlap the printed panel. Too short on a thick cable, and the tail does not reach the print; too long on a thin cable, and the label wraps multiple times untidily. Getting the cable diameter right for a given label part number is the starting point.
Two different dimensions drive self-laminating label sizing, and they are often confused. The cable diameter range a label will fit is controlled by the label's overall length - the printable panel plus the clear tail have to be long enough to wrap around the cable at least once and overlap. The label width (the vertical dimension of the printable panel) controls how much identification text you can fit, and is chosen based on the length of the cable ID, the font size needed, and how many lines of text the label has to carry. A wider label does not fit a larger cable; it just gives you more room to write. A manufacturer's part number typically specifies both: the cable diameter range the SKU covers, and the printable area that determines how much text you can get on each label. Matching both to the requirements of the job is the key sizing decision.
Pre-order checklist
Before ordering self-laminating labels, confirm:
- Cable diameter (take a calliper measurement rather than relying on the published cable specification)
- Required print length (how many characters and lines need to fit on the printed panel)
- Printer type (thermal transfer or laser; mixing is not usually supported on the same label stock)
- Application environment (indoor / outdoor, temperature range, chemical exposure)
- Volume per project (pre-perforated A4 sheets are economical for laser; roll formats suit thermal transfer)
5. Printing
Thermal transfer and laser: two routes to the same label
Self-laminating labels come in two printing formats that match two different workflows. The finished label is similar in both cases; the difference is how the image is put onto the printable panel.
Thermal transfer self-laminating labels
Thermal transfer printing uses a heated printhead and a ribbon of wax, resin, or wax-resin material, leaving a sharp, durable image on the printable panel. The print is abrasion and solvent resistant before the clear tail is even wrapped over it. Combined with the self-laminating overlay, the finished label is designed for a long service life.
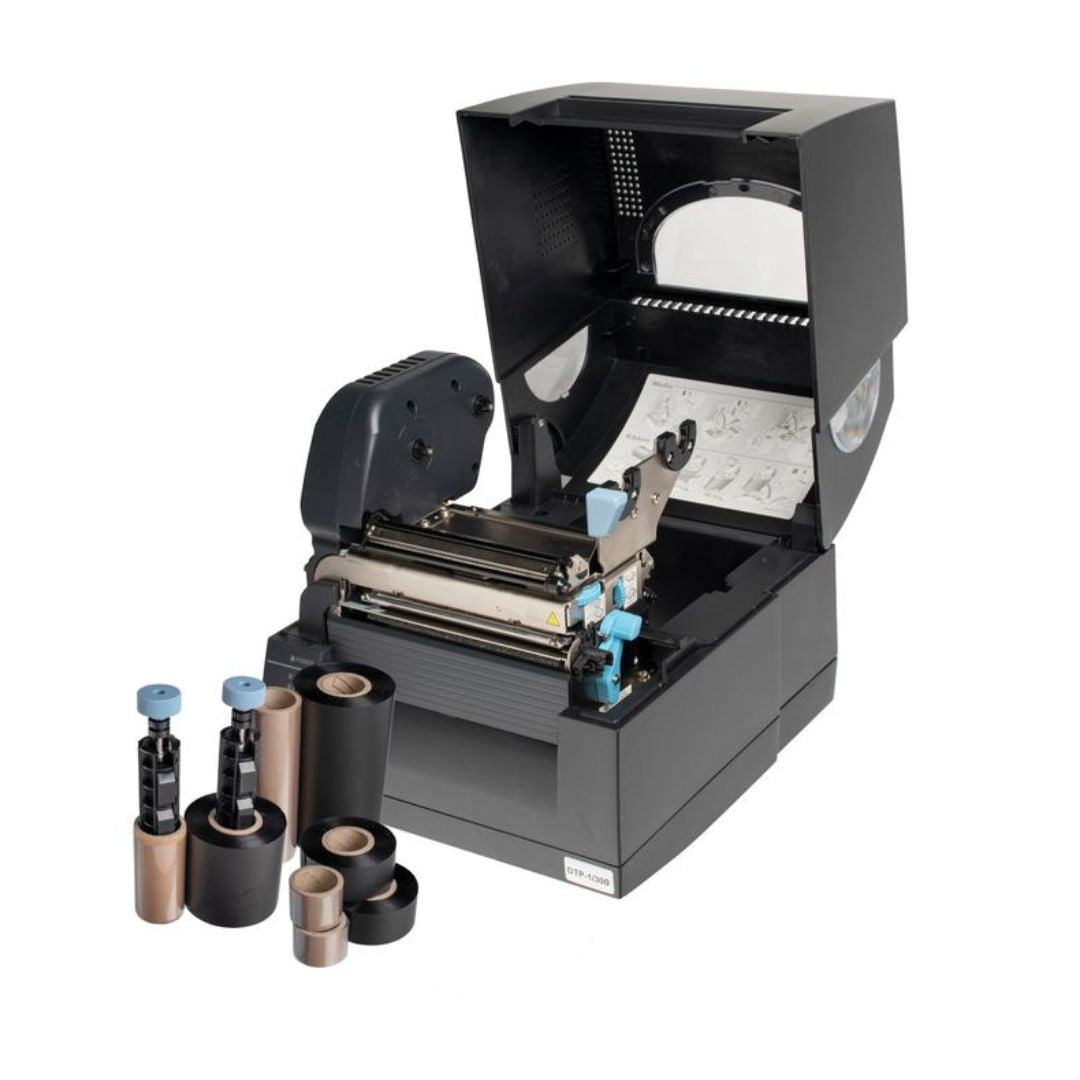
Prolab® Thermal Self-Laminating Wrap-Around Cable Labels are supplied on rolls for use with industrial printers such as the Fox-in-a-Box®. The same printer can switch between self-laminating wrap-arounds, tie-on tags, heat-shrink sleeves, and equipment labels using the same data set.
Laser self-laminating labels
Laser self-laminating labels are supplied as pre-perforated A4 sheets for use with an office colour or mono laser printer. They suit teams who already own a laser printer, print labels infrequently, or need to produce labels quickly through a standard office workflow. The Prolab® Laser Self-Laminating Wrap-Around Cable Labels range is built specifically for this purpose, with a sheet construction designed to resist pre-delamination during the print cycle. With the appropriate Labacus Innovator® tier, a colour laser printer can also produce wrap-around labels with resistor colour coding.

Labacus Innovator®
Silver Fox®'s label design software drives both thermal and laser self-laminating label printing from the same data file. Sequential numbering, spreadsheet import, barcodes, QR codes, and GS1® Data Matrix are all supported depending on the tier, and the same cable identification data can be sent to a thermal transfer printer or laid out across an A4 laser sheet without re-keying.
Fibre patch cords: a specific case
Fibre patch cords are usually too thin for a standard wrap-around label to read clearly. A flag label, which presents a larger printed area standing proud of the cable, is often a better fit. The Prolab® Laser Fibre Optic Flag Labels are designed for this purpose and run through the same laser workflow as the wrap-around range, so a mixed copper-and-fibre installation can be labelled from a single printing process.
6. Application
Applying a self-laminating label correctly
A self-laminating label only delivers its protective benefit if it is applied correctly. The process is straightforward, but small errors at the application stage account for most of the legibility failures seen in the field.
-
1
Clean the cable jacket
Wipe the area of the cable where the label will sit with a lint-free cloth. Oily fingerprints and dust can all weaken the adhesive bond. For oily cables, an isopropyl alcohol wipe is usually sufficient.
-
2
Remove the label from the carrier
Lift the label holding it by the edges. Avoid touching the adhesive on the clear tail, which is the section that will bond the label to itself during wrapping.
-
3
Position the printed panel
Place the printable panel against the cable with the text oriented correctly for the person reading it. The printed panel has only a small amount of adhesive; the main bond comes from the clear tail.
-
4
Wrap the clear tail
Wind the clear tail around the cable in a smooth motion, keeping the wrap tight and avoiding bubbles. A second wrap is common on thinner cables.
-
5
Press to seal
Run a finger firmly along the laminated section to expel any trapped air. A properly applied label will have no visible bubbles under the clear film.
For teams applying large volumes of labels across multiple sites, consistency of application becomes as important as consistency of label format. A brief written procedure, refreshed through toolbox talks, is usually enough to eliminate the most common errors. The guide to standardising cable labelling across teams covers the broader process.
FAQ
Common questions about self-laminating labels
What are self-laminating labels made of?
Most industrial self-laminating cable labels use a durable polyester film: a matt white polyester for the printable panel and a transparent polyester for the clear tail, bonded with a strong acrylic adhesive. Polyester is tear-resistant, dimensionally stable under temperature changes, and retains its clarity well under UV exposure.
Are self-laminating labels waterproof?
Self-laminating labels are designed for indoor and sheltered outdoor use, and the clear overlaminate offers meaningful protection against splashes, condensation, and light moisture. For continuous submersion or prolonged direct outdoor exposure, a tie-on cable label in a UV-stable material is usually a stronger choice. Check the specific product's environmental ratings before ordering.
Can self-laminating labels be removed later?
The acrylic adhesive on a correctly applied self-laminating label is designed for long-term bonding. Labels can be cut off with a blade, but the adhesive will usually leave residue on the cable jacket. For a cable population where labels will be changed regularly, a plain wrap-around with a lower-strength adhesive is a better fit.
Can I print self-laminating labels on a standard office printer?
Laser-compatible self-laminating labels, such as the Prolab® Laser range, run through any standard A4 mono or colour laser printer. Thermal self-laminating labels need a thermal transfer printer such as the Fox-in-a-Box®, not an inkjet or standard office printer. Laser and thermal formats are not interchangeable; each is designed for one print technology.
What is the difference between self-laminating and wrap-around labels?
All self-laminating labels are wrap-around labels, but not all wrap-around labels are self-laminating. A plain wrap-around leaves the printed text exposed. A self-laminating wrap-around adds the clear tail that covers the print after application. Self-laminating is the more protective of the two; plain wrap-around is suitable where protection against abrasion and moisture is not critical.
Next steps
Choose the right self-laminating label for your project
Talk to Silver Fox® about your cable identification
Whether you are standardising labelling across a data centre rollout, specifying cable identification for a network installation, or equipping a contracting team with a flexible labelling system, Silver Fox® can help match the right self-laminating format to the cables and environments involved.
Contact us at [email protected] or call +44 (0) 1707 37 37 27 to discuss your project.